

TASK-1:Deploy Timetable Management System Application on an AWS EC2 Instance

👋Hello, Hashnode community! I'm subbaramireddy, a passionate DevOps Engineer with a relentless commitment to optimizing software development workflows and infrastructure management. 🚀 Hands-on experience in the DevOps field, I've honed my skills in AWS cloud services, containerization, and CI/CD pipelines. As an AWS Certified Developer, I'm well-versed in leveraging cloud technologies to drive efficiency and innovation. 💡 I firmly believe in the power of continuous improvement. My journey began with an internship, where I immersed myself in the intricacies of DevOps, from deploying web applications to orchestrating containerized solutions. I've also delved into AWS CDK, enhancing security through RDS instance policies, and creating foundational infrastructure with precision. 🌐 My goal is to share insights, best practices, and the latest trends in the DevOps landscape. I'm excited to connect with like-minded professionals, engage in meaningful discussions, and learn from the diverse experiences of the Hashnode community. 📝 Let's explore the ever-evolving world of DevOps together. Feel free to connect with me, ask questions, or share your own insights. Together, we can drive innovation and efficiency in the tech world!
Elastic compute cloud (EC2)
Amazon Elastic Compute Cloud (Amazon EC2) is a web service offered by Amazon Web Services (AWS) that provides resizable compute capacity in the cloud. An EC2 instance is a virtual server that you can run in the AWS cloud. EC2 instances are highly configurable and allow you to choose the instance type, operating system, storage, and other parameters to meet your specific application needs.
Steps:
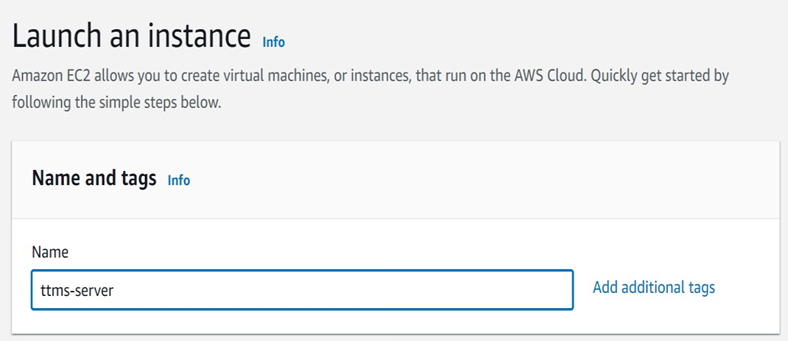
- Create an Ec2 instance with the name ttms-server.
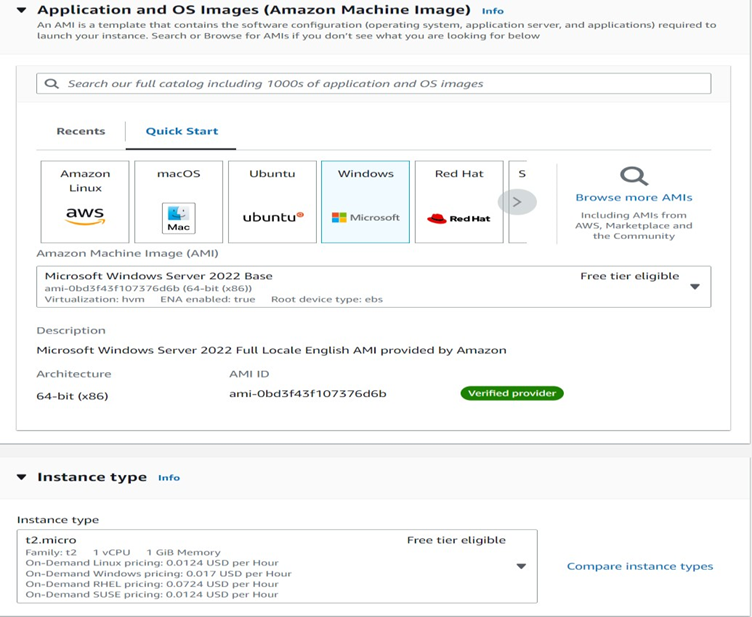
2. Choose the Windows Server 2022 Base operating system image (AMI) and set the instance type to t2.micro.
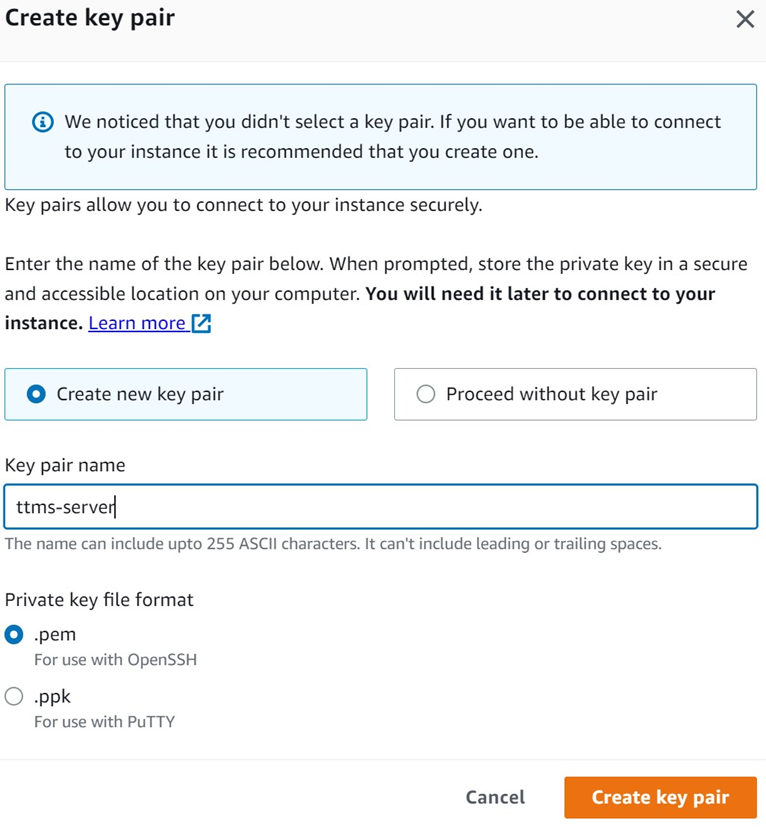
3. Generate a key pair that will be used for connecting to the EC2 instance.
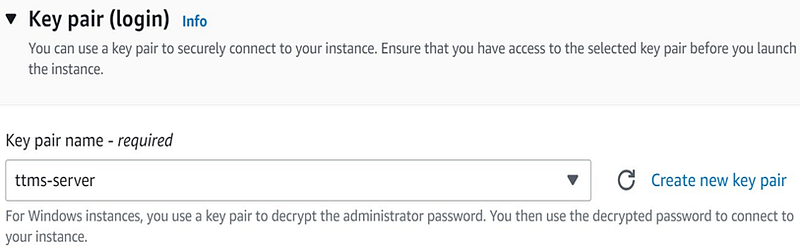
4. Select the 'ttms-server' key pair for the Windows Server 2022 instance.
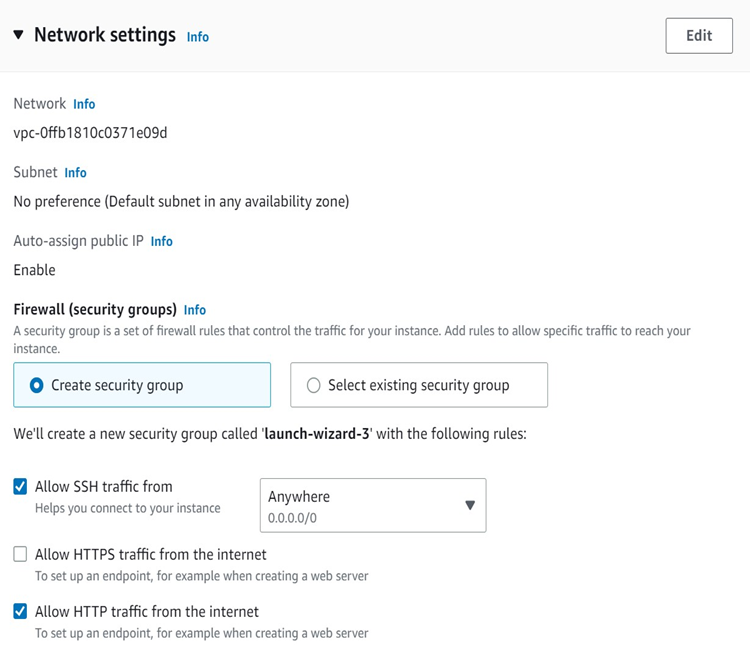
5. In the network setting configure the auto assign public IP, Allow SSH traffic and Allow the HTTP traffic.
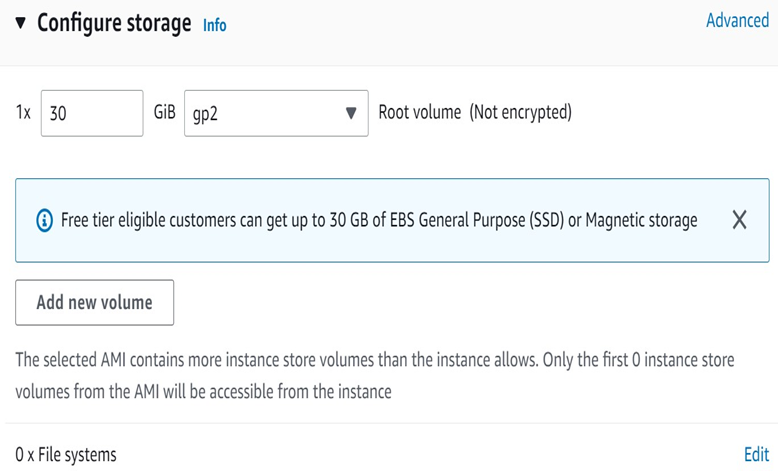
6. Configure the storage settings using the default values available in the Free tier.
7. Finally verify the summary of the instance.

8. You can observe that the instance has been successfully created and is currently in a running state. Please proceed by clicking on the "Connect" option.

9.Establish a connection to the instance by using an RDP client and proceed to download the remote desktop file.
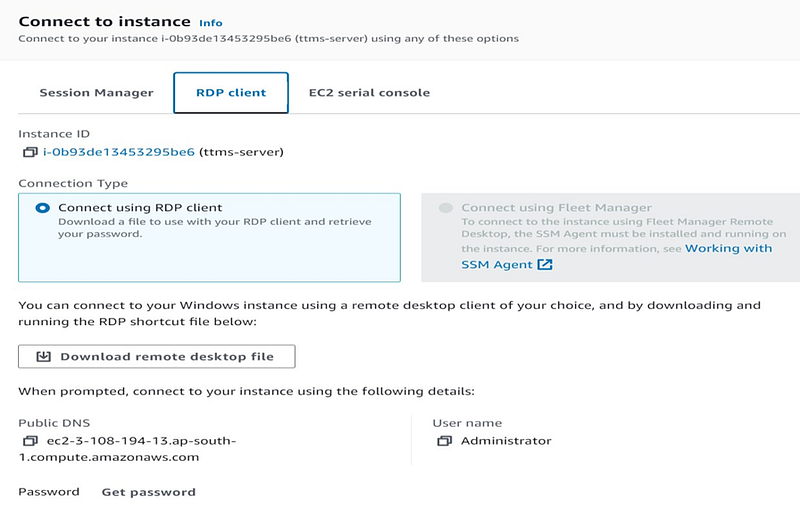
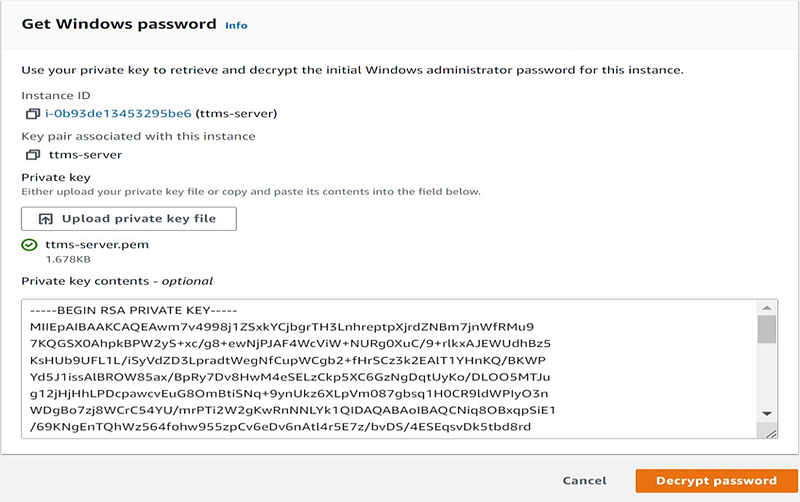
10. To obtain the Windows password from the .pem file, please click on the "Get password" option.
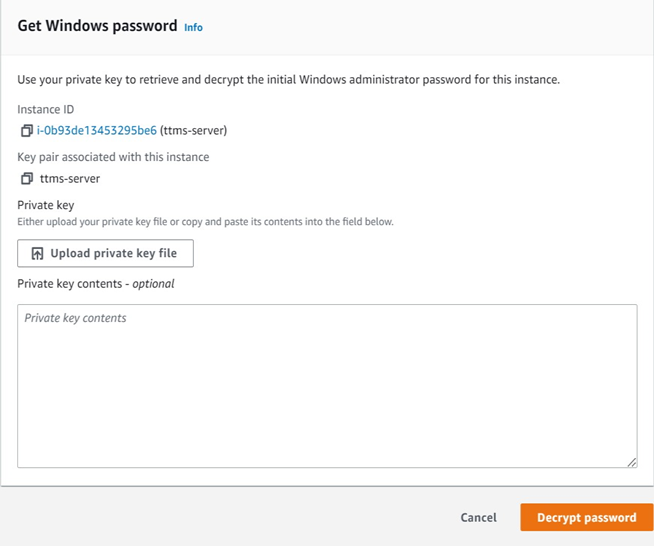
11. Upload the private key file, and then select the option to "Decrypt password."
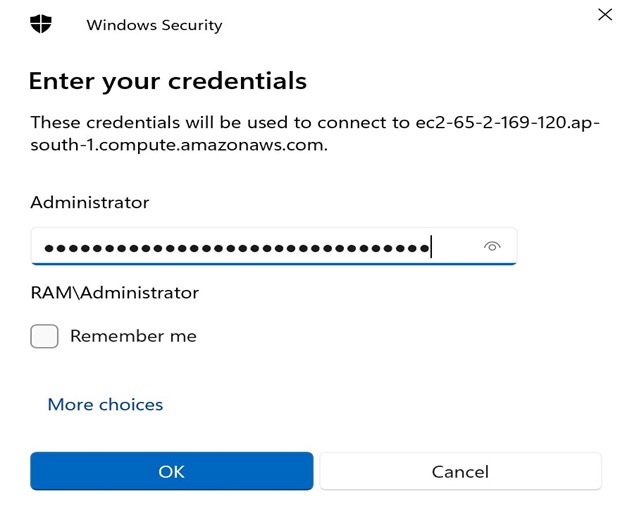
12. Establish a connection to the instance using the RDP file with the decrypted password.
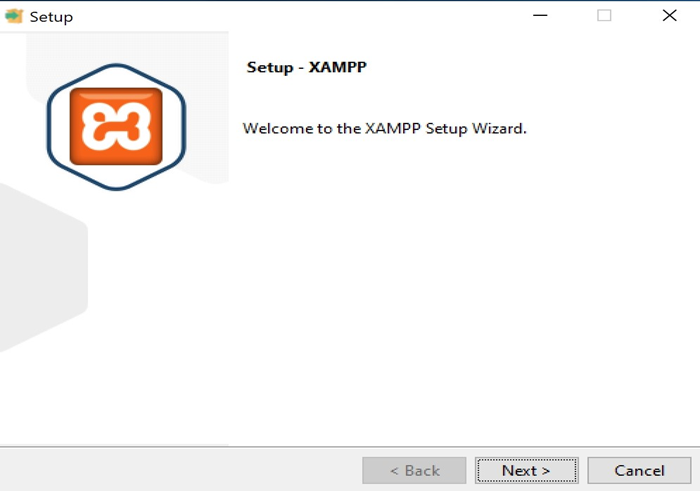
13. Download and install the XAMPP application by accessing it through this link: XAMPP Download. After installation, continue with the setup process.
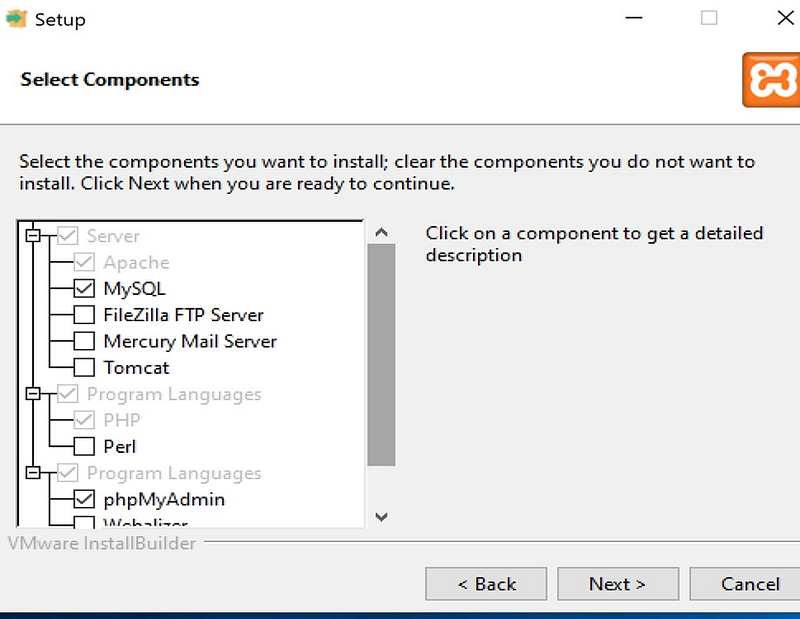
14. In the setup wizard, please choose the components you'd like to install, such as Apache and MySQL.
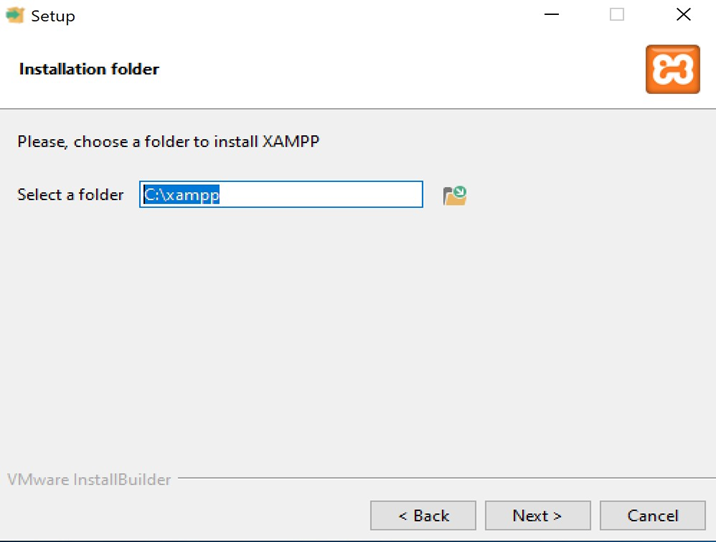
15. Choose the destination folder where you want to install the XAMPP application.
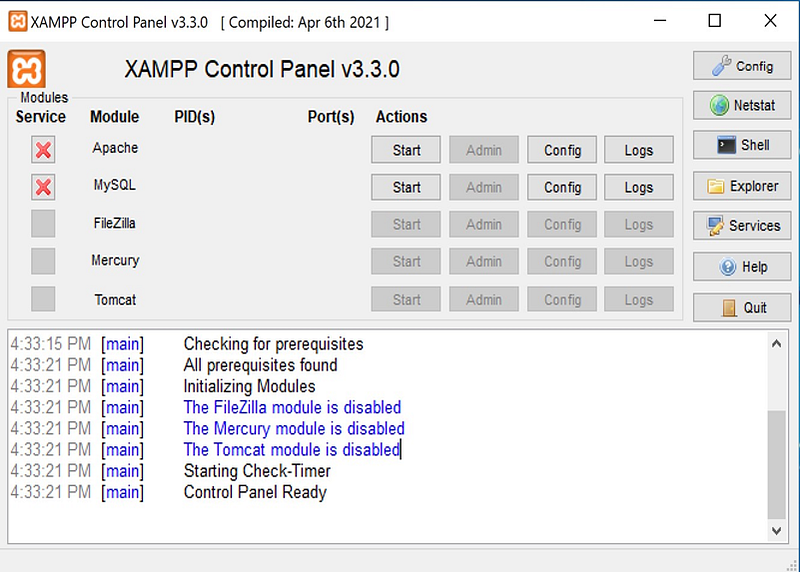
16. Launch the XAMPP control panel and check the services that have been installed, including Apache and MySQL.
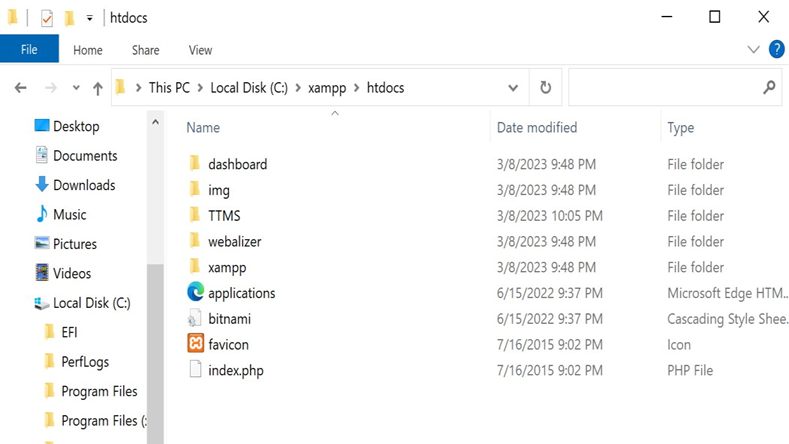
17. Download the repository from https://github.com/SUBBARAMIREDDY-K/TTMS/tree/master, and then copy the "TTMS" folder to the "htdocs" directory to host the application.
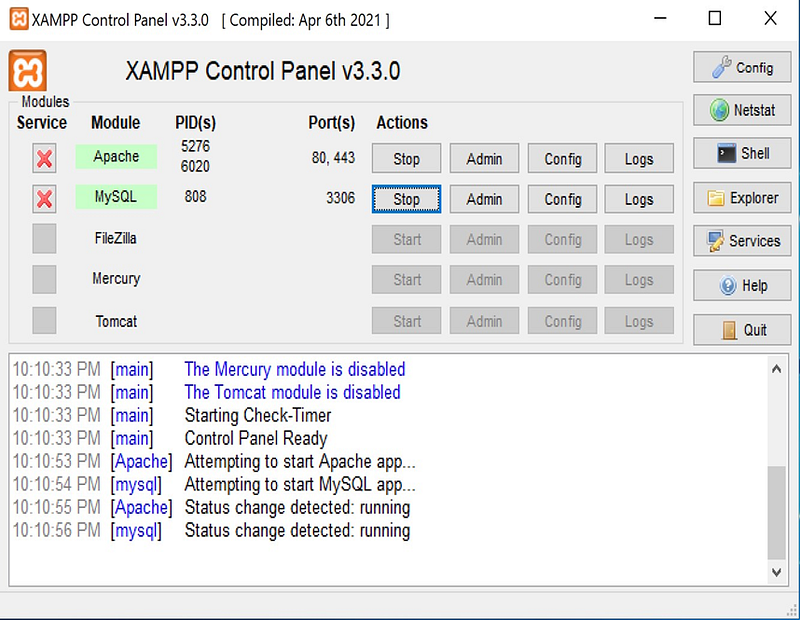
18. Access the control panel and initiate the Apache and MySQL services.
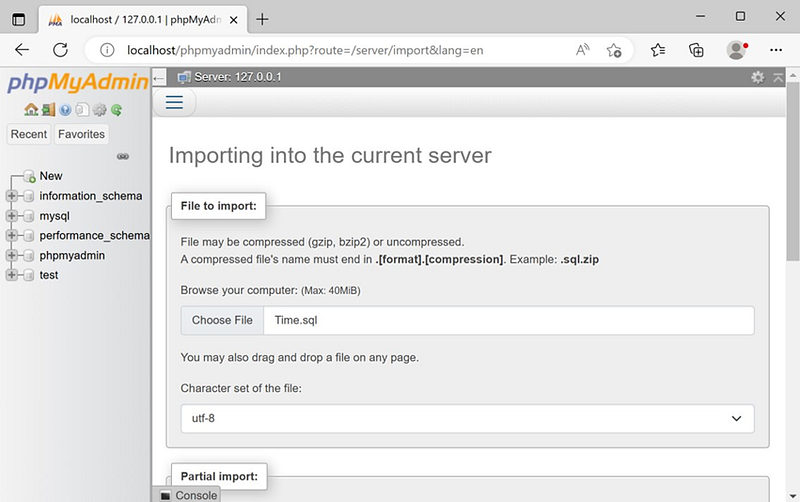
19. Navigate to the control panel and select the MySQL admin option. From there, import the .sql file into phpMyAdmin.
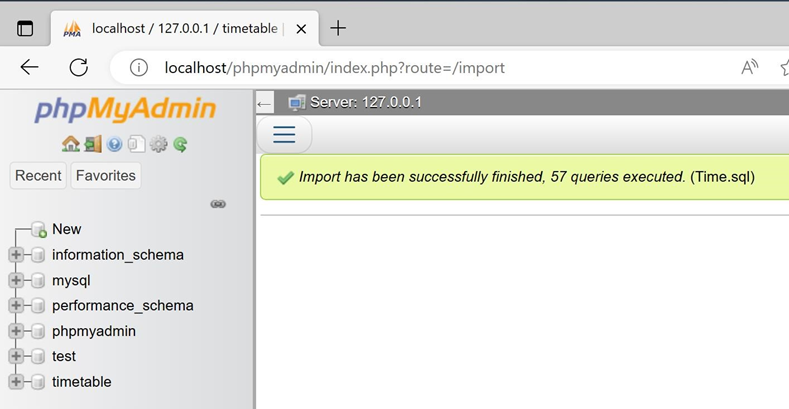
20. The database has been successfully created, including all the tables from the .sql file.
21. Access the web application by entering the instance's public IP address followed by port 80 in your web browser's address bar.
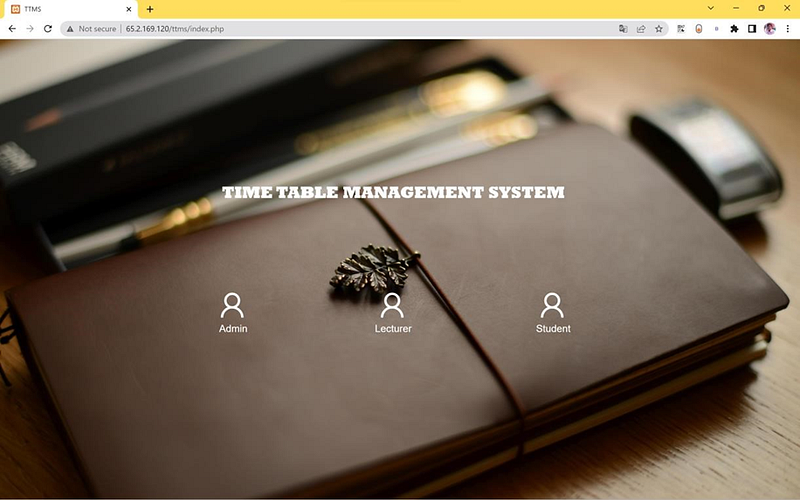
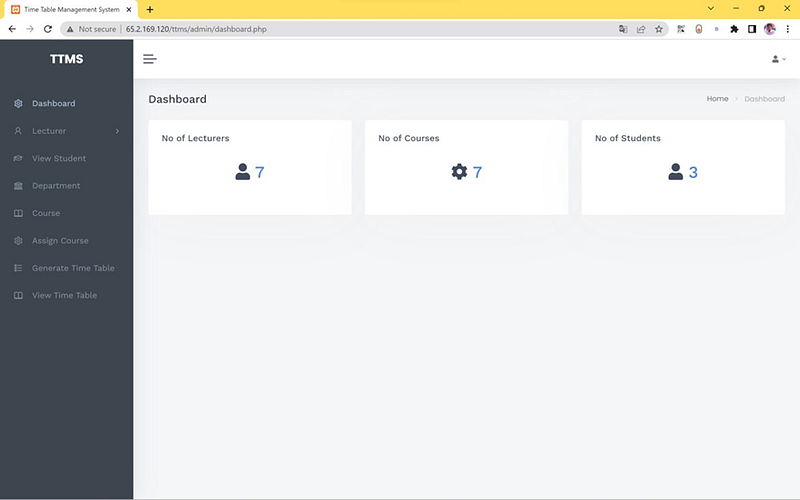
22. Click on the "admin" option and proceed to log in using your provided credentials.
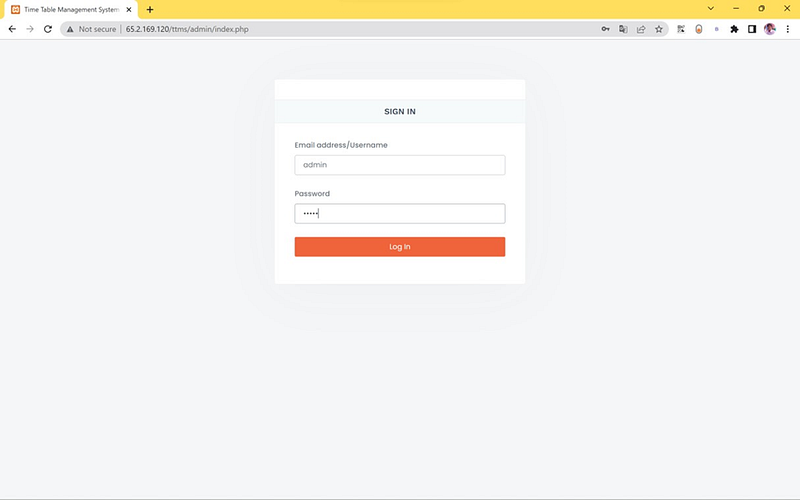
23. This is the Admin Dashboard we can view the details of the application.
Thanks for reading! I hope you found this helpful and informative.
I'm always happy to connect with fellow tech enthusiasts and answer any questions you may have. Don't forget to follow me for more updates on tech, programming, and more.😄😄
Follow me on LinkedIn to see interesting posts like this : ) Linkedin


