

TASK-4: Deploy Timetable management System application in Elastic Bean Stalk (EB)

👋Hello, Hashnode community! I'm subbaramireddy, a passionate DevOps Engineer with a relentless commitment to optimizing software development workflows and infrastructure management. 🚀 Hands-on experience in the DevOps field, I've honed my skills in AWS cloud services, containerization, and CI/CD pipelines. As an AWS Certified Developer, I'm well-versed in leveraging cloud technologies to drive efficiency and innovation. 💡 I firmly believe in the power of continuous improvement. My journey began with an internship, where I immersed myself in the intricacies of DevOps, from deploying web applications to orchestrating containerized solutions. I've also delved into AWS CDK, enhancing security through RDS instance policies, and creating foundational infrastructure with precision. 🌐 My goal is to share insights, best practices, and the latest trends in the DevOps landscape. I'm excited to connect with like-minded professionals, engage in meaningful discussions, and learn from the diverse experiences of the Hashnode community. 📝 Let's explore the ever-evolving world of DevOps together. Feel free to connect with me, ask questions, or share your own insights. Together, we can drive innovation and efficiency in the tech world!
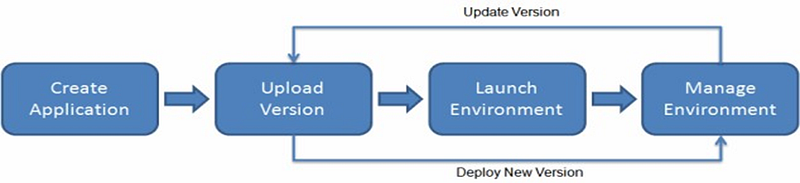
Elastic Bean Stalk (EBS)
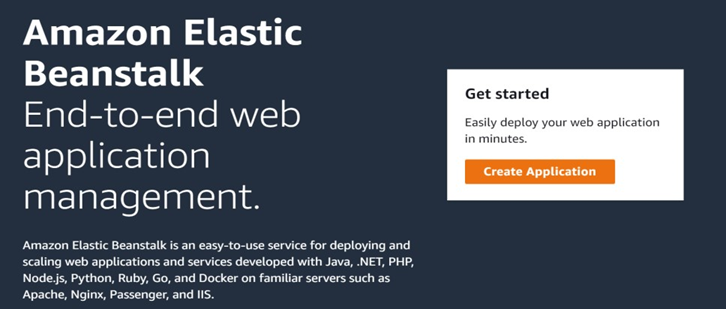
Elastic Beanstalk is a service designed for deploying and scaling web applications and services. By uploading your code, Elastic Beanstalk seamlessly manages the entire deployment process, which includes capacity provisioning, load balancing, auto-scaling, and application health monitoring.
Steps:
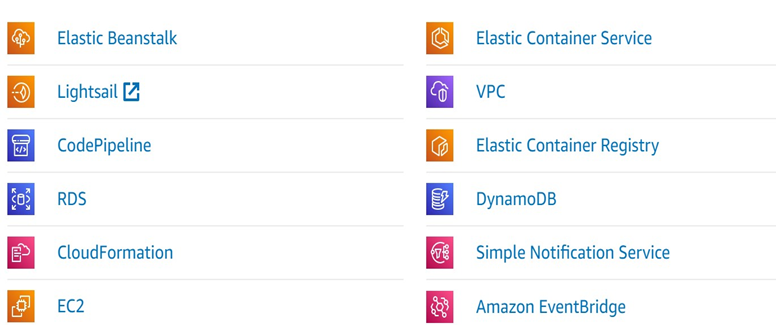
open the AWS management console and Search for elastic beanstalk. select Elastic Beanstalk service.
Click on the Create Application.
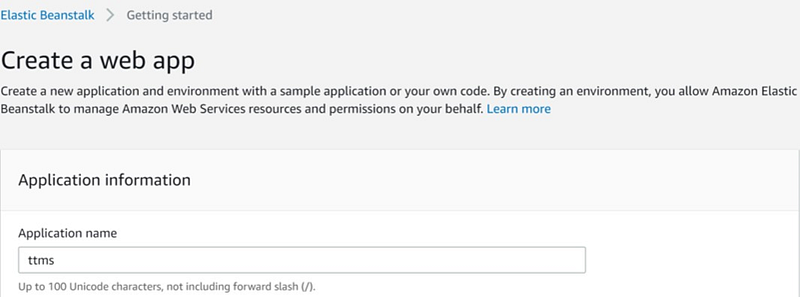
Provide a name for your application.
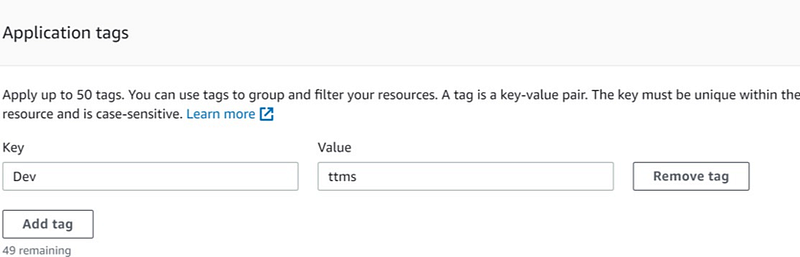
In the Application tags section, you can label your application by specifying key-value pairs.
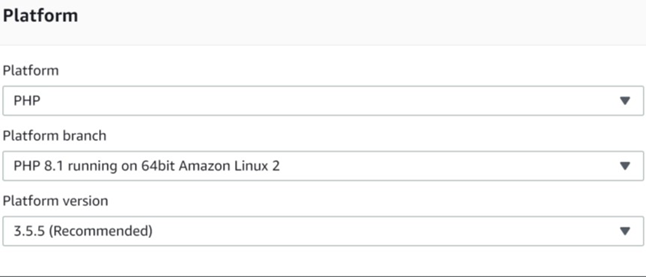
In the Platform section, you need to make several selections. First, choose 'PHP' as the web application environment. Then, in the Platform branch, select the instance type on which your environment will be created; for example, I am using 'Amazon Linux 2' with PHP 8.1 Lastly, in the Platform version, opt for the recommended version.
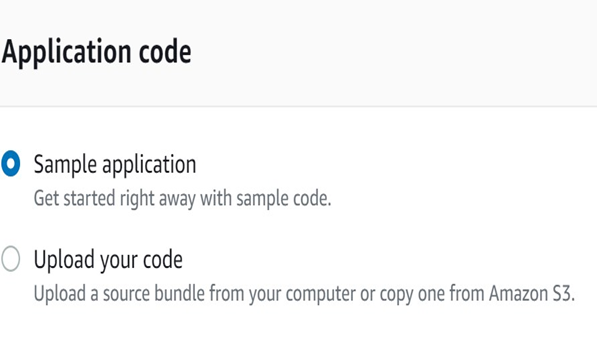
In the Application code section, select a sample application, and then click on 'Create application'.
To configure Elastic Beanstalk further, click on 'Configure More Options'.

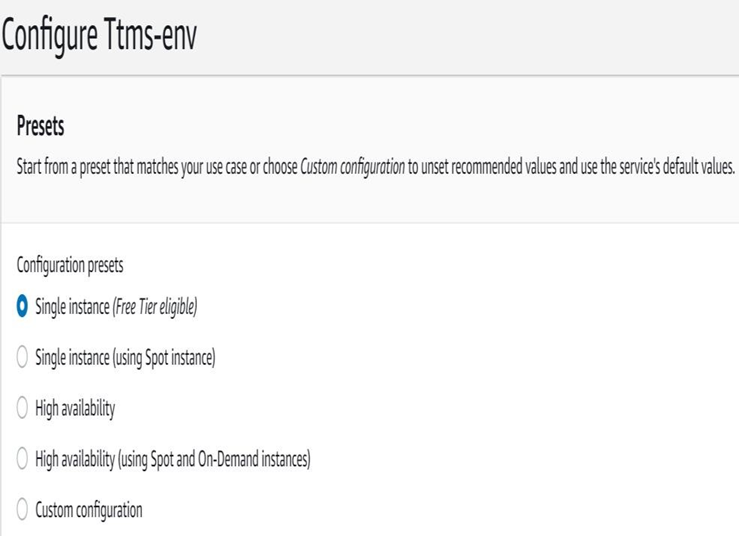
Configure the Elastic Beanstalk environment based on the requirements, and it's recommended to choose options that are Single instance (Free Tier eligible)
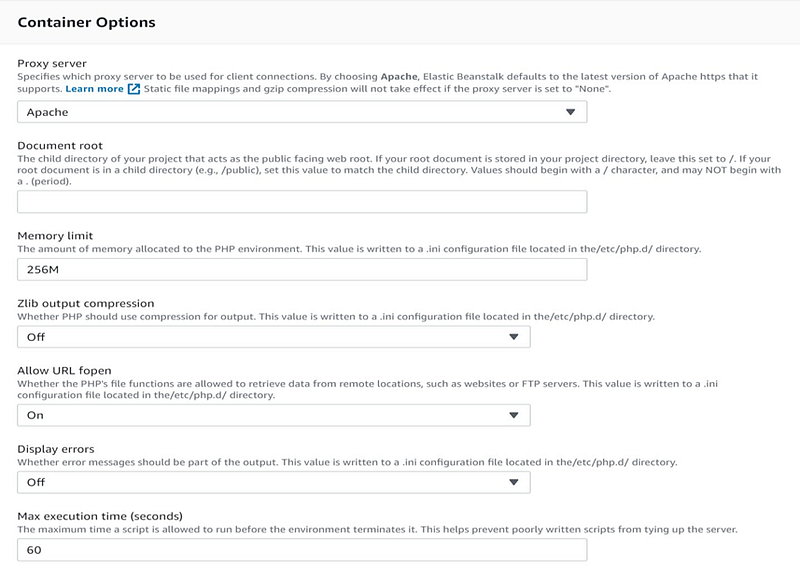
In the Software section, choose Apache as the proxy server for our application.
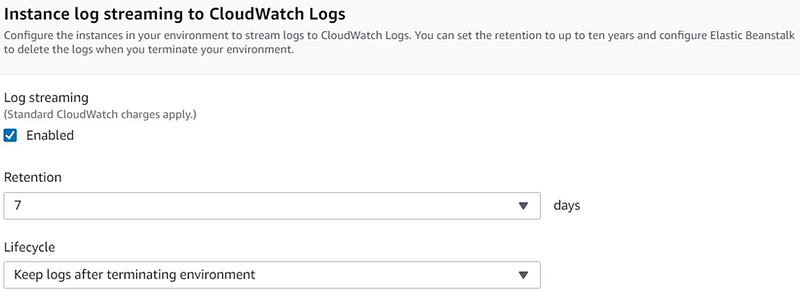
In the Instance log section, enable Log Streaming to store logs in CloudWatch.
To add a database to the application, click on 'Edit' to configure the database settings.

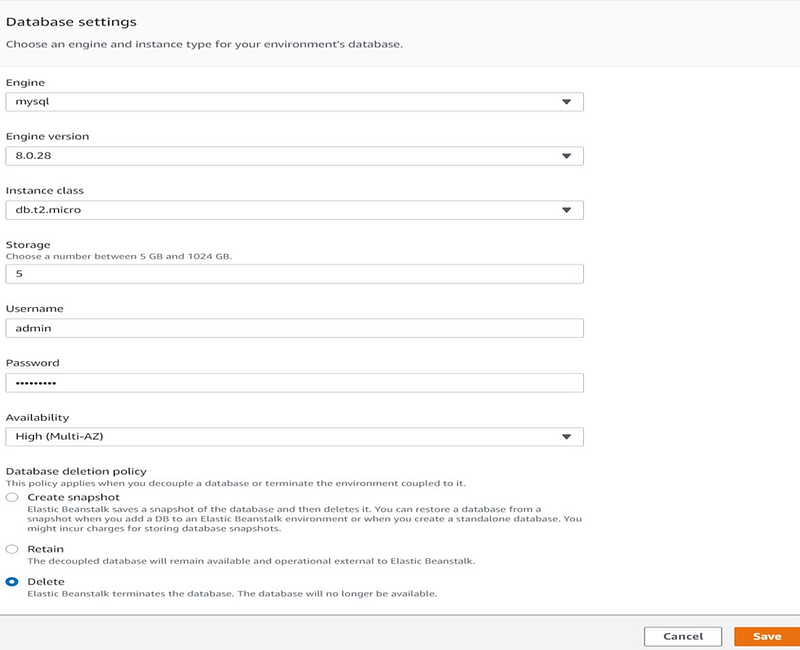
Configure the database settings, specifying the MySQL engine, instance class, and credentials. For the database deletion policy, choose 'Delete' to ensure that the created database is automatically deleted when the EB environment is terminated. Finally, click on the 'Save' option.
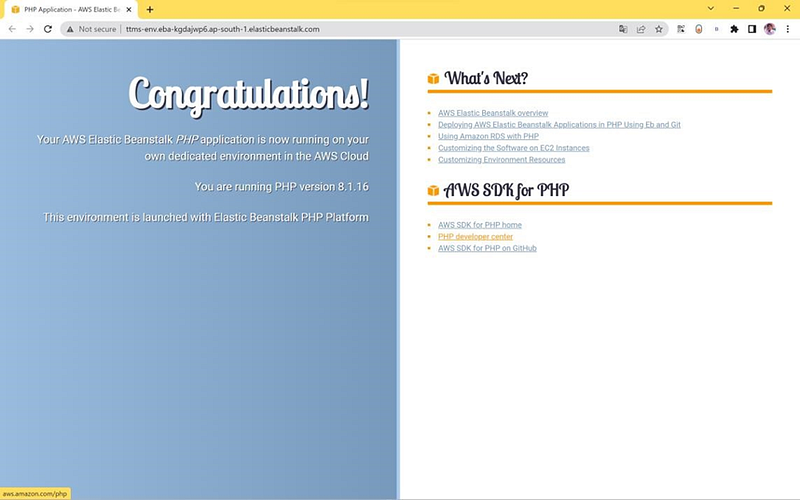
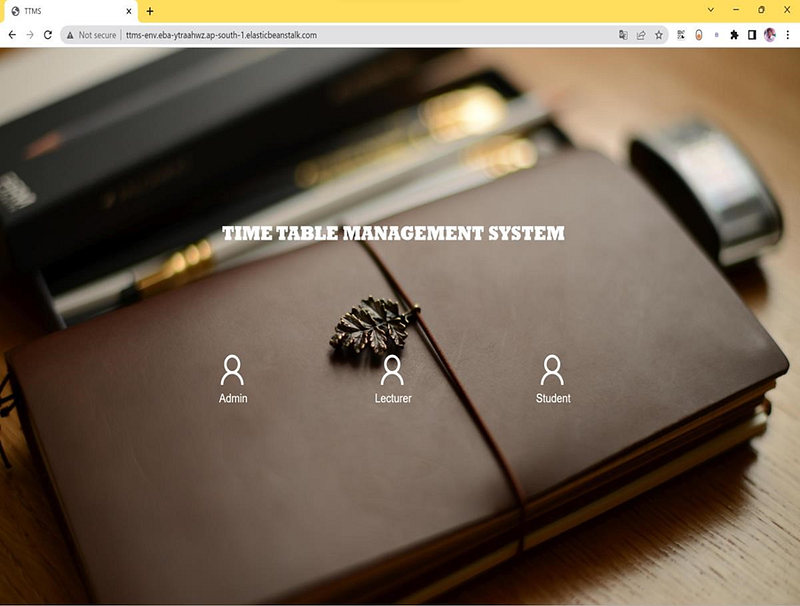
The application has been successfully deployed, and you can access it using the provided URL.
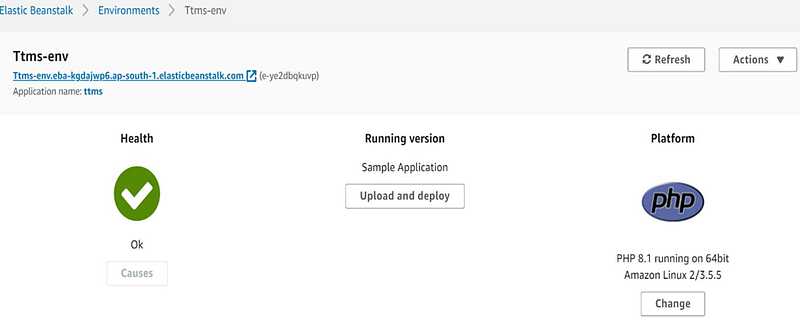
Clicking the link will open the sample application page as shown below.
Code Pipeline:
CodePipeline is a continuous delivery service that allows you to model, visualize, and automate the steps necessary to release your software. You can easily define and configure the various stages of a software release process. CodePipeline automates the continuous release of your software changes.
To get started, open the AWS Management Console and navigate to the CodePipeline service.
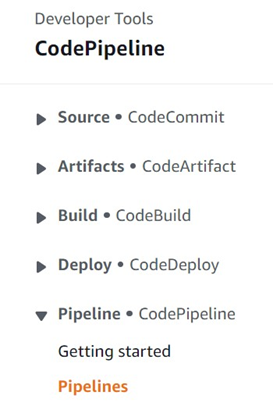
You can view the list of pipelines, and to create a new one, click on the 'Create Pipeline' option.

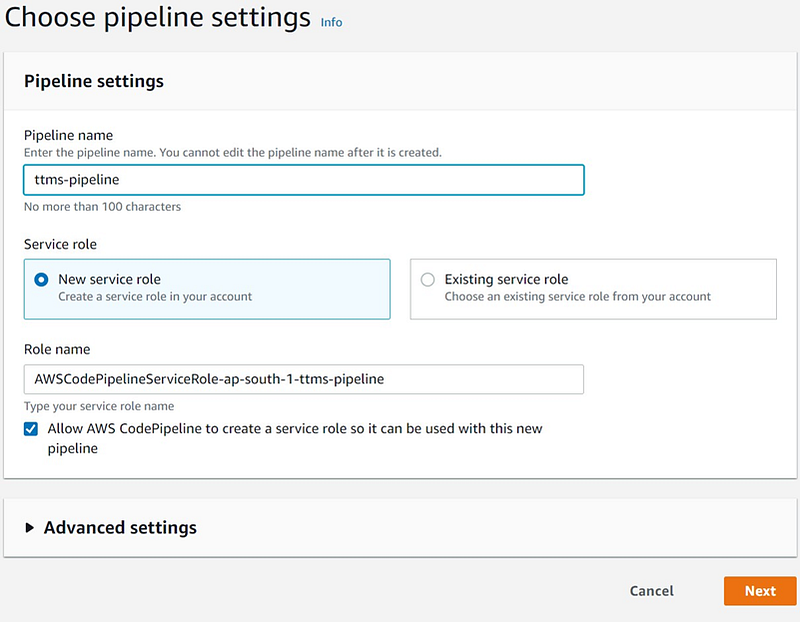
Name the pipeline as 'ttms-pipeline' and select the new service role. It will automatically create a role for the pipeline. Then, click on 'Next'.
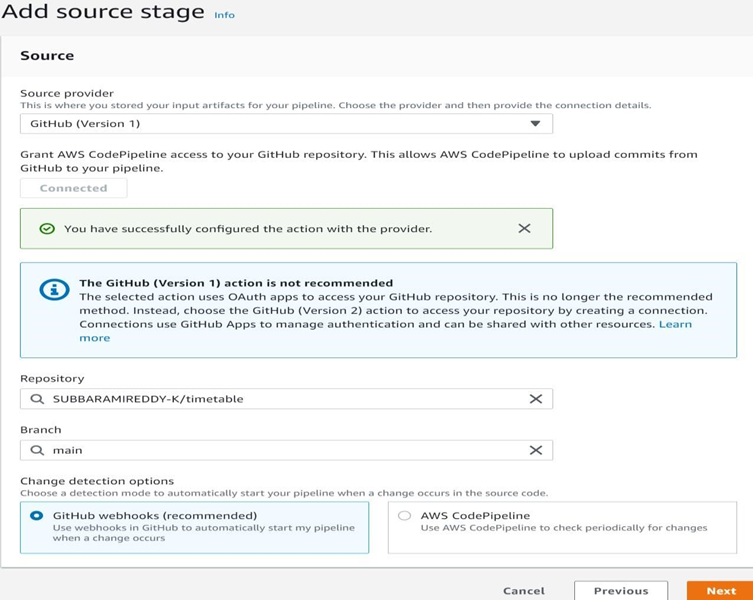
In the Source stage select the source provider as GitHub (Version 1) and connect to GitHub through OAuth. Select the Repository and Branch of your Source code in the Version control system. Choose the GitHub webhooks option and click on Next.
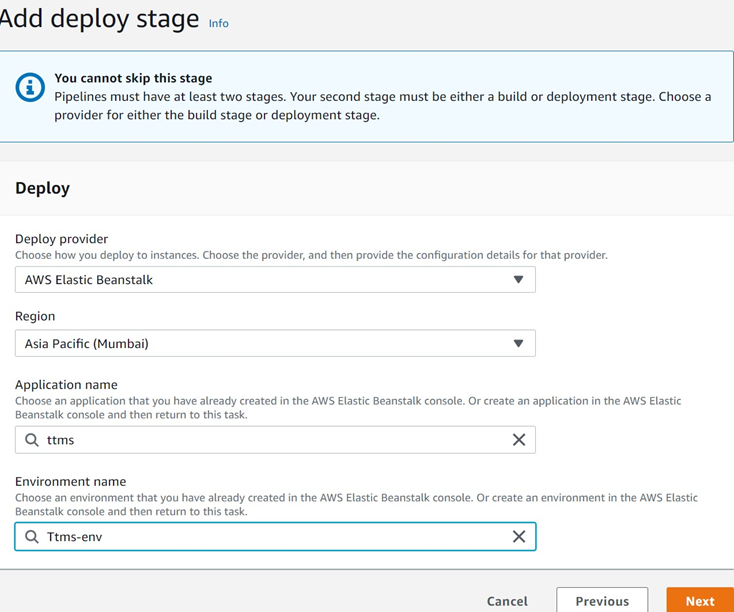
Add a deploy stage, and within that, select the deploy provider as Elastic Beanstalk for the chosen region. Specify the Application name and Environment name. After click 'Next'.
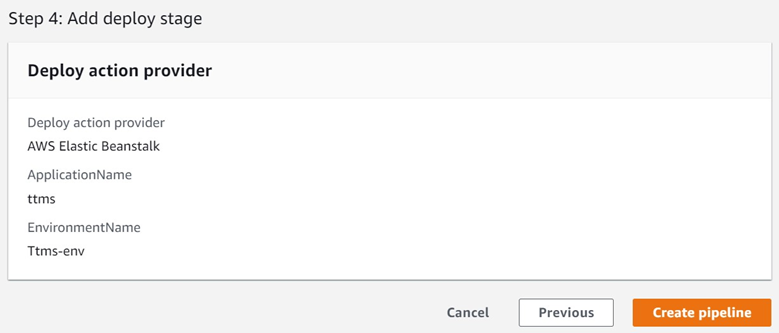
Review the CodePipeline details in the summary, and then click on 'Create pipeline'.
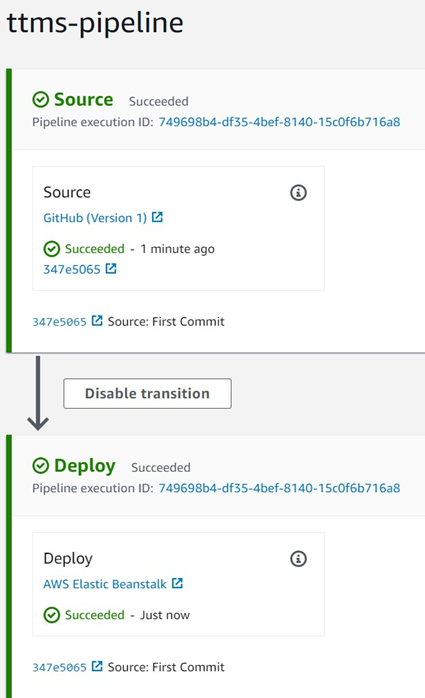
The pipeline will be created, allowing the source code to be deployed from GitHub to AWS Elastic Beanstalk through the CodePipeline. Continuous delivery has been enabled.
You can observe the CodePipeline running version as shown above. To access the application, click on the application URL.
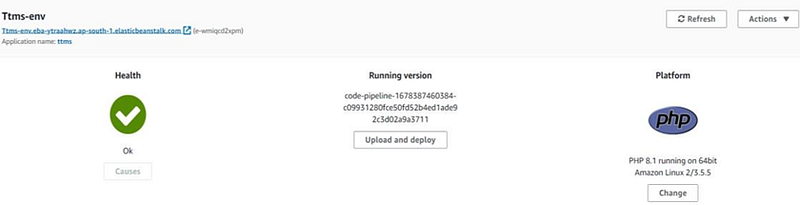
The application is running successfully in the Elastic Beanstalk service.
Thanks for reading! I hope you found this helpful and informative.
I'm always happy to connect with fellow tech enthusiasts and answer any questions you may have. Don't forget to follow me for more updates on tech, programming, and more.😄😄
Follow me on LinkedIn to see interesting posts like this : ) Linkedin


