

TASK-7:Create an application load balancer and access the application.

👋Hello, Hashnode community! I'm subbaramireddy, a passionate DevOps Engineer with a relentless commitment to optimizing software development workflows and infrastructure management. 🚀 Hands-on experience in the DevOps field, I've honed my skills in AWS cloud services, containerization, and CI/CD pipelines. As an AWS Certified Developer, I'm well-versed in leveraging cloud technologies to drive efficiency and innovation. 💡 I firmly believe in the power of continuous improvement. My journey began with an internship, where I immersed myself in the intricacies of DevOps, from deploying web applications to orchestrating containerized solutions. I've also delved into AWS CDK, enhancing security through RDS instance policies, and creating foundational infrastructure with precision. 🌐 My goal is to share insights, best practices, and the latest trends in the DevOps landscape. I'm excited to connect with like-minded professionals, engage in meaningful discussions, and learn from the diverse experiences of the Hashnode community. 📝 Let's explore the ever-evolving world of DevOps together. Feel free to connect with me, ask questions, or share your own insights. Together, we can drive innovation and efficiency in the tech world!
Application Load Balancer
An Application Load Balancer functions at the application layer, the seventh layer of the Open Systems Interconnection (OSI) model. After the load balancer receives a request, it evaluates the listener rules in priority order to determine which rule to apply and then selects a target from the target group for the rule action. You can configure listener rules to route requests to different target groups based on the content of the application traffic. Routing is performed independently for each target group, even when a target is registered with multiple target groups. You can configure the routing algorithm used at the target group level. The default routing algorithm is round robin; alternatively, you can specify the least outstanding requests routing algorithm.
You can add and remove targets from your load balancer as your needs change, without disrupting the overall flow of requests to your application. Elastic Load Balancing scales your load balancer as traffic to your application changes over time. Elastic Load Balancing can scale to the vast majority of workloads automatically.
You can configure health checks, which are used to monitor the health of the registered targets so that the load balancer can send requests only to the healthy targets.

Setting up the Application Load Balancer
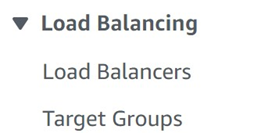
Navigate to the EC2 instance service and choose the "Load Balancing" option.
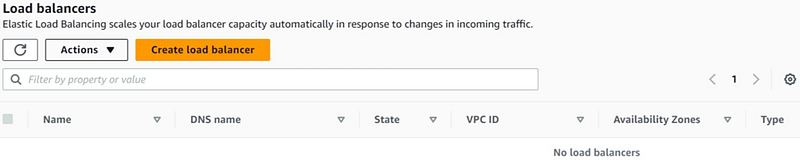
Click on "Create Load Balancer".
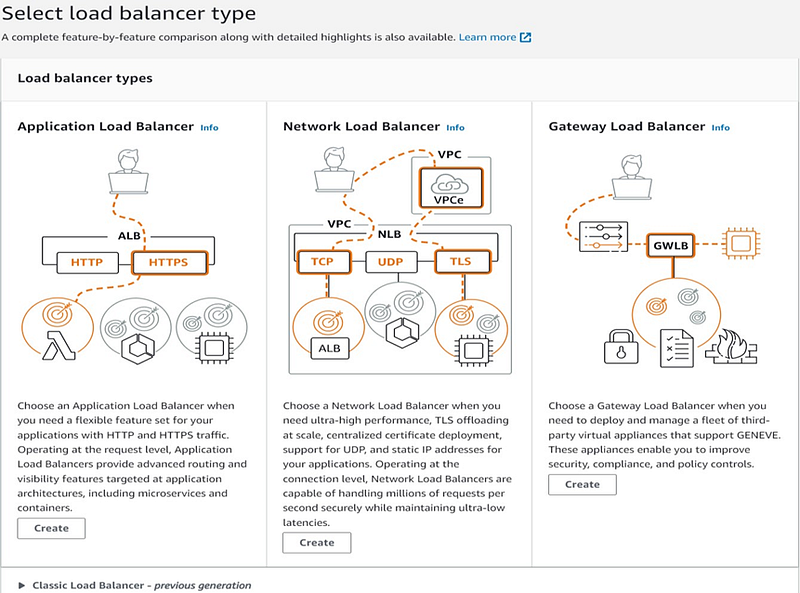
Select "Application Load Balancer" as the load balancer type and click "Create".
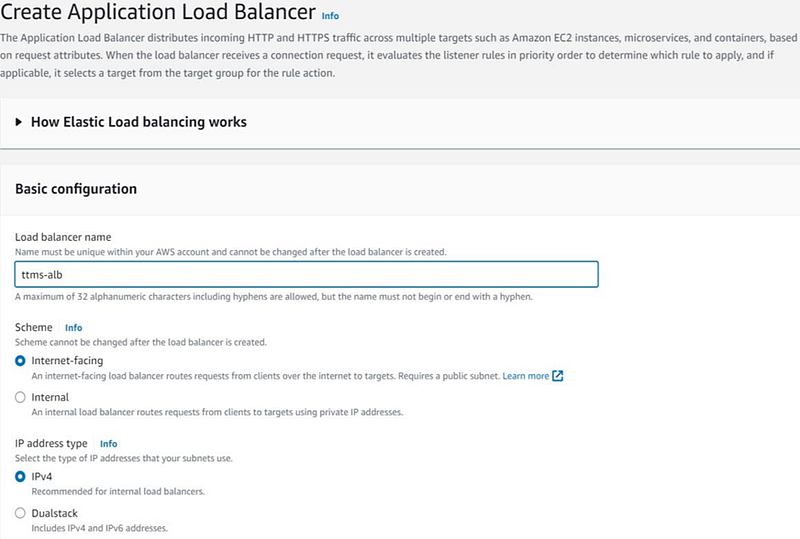
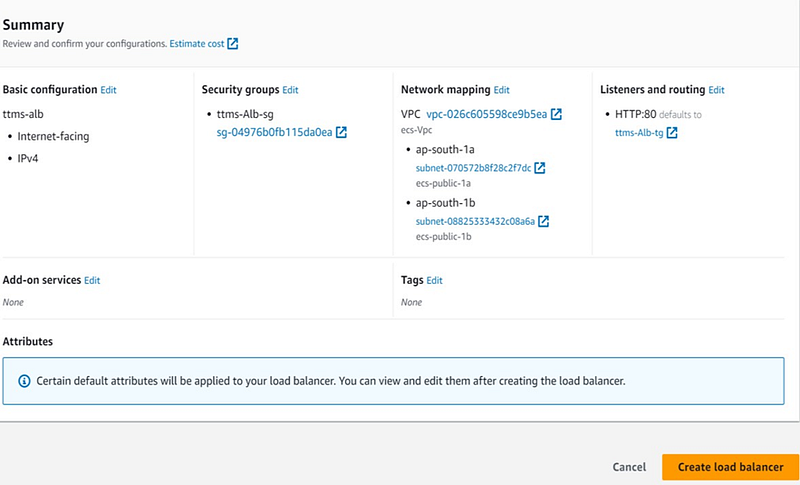
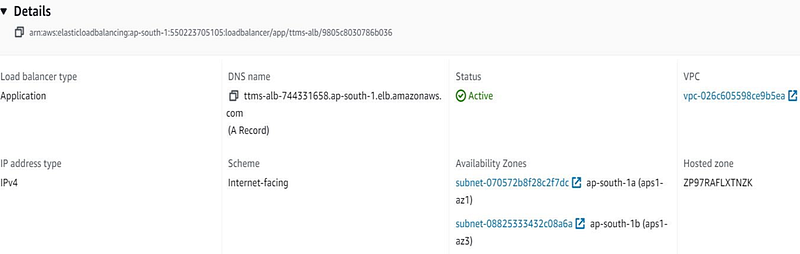
Set the name of the Application Load Balancer to "ttms-alb," choose "Internet-facing" for the scheme, and select "IPv4" for the IP address type.
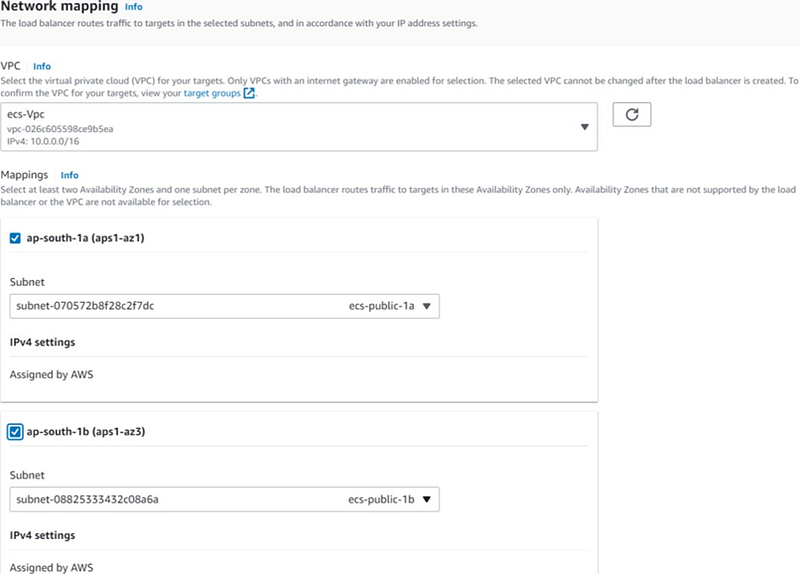
In the Network Mapping section, choose a VPC with a minimum of two subnets.
Specify the security group as "ttms-Alb-sg".

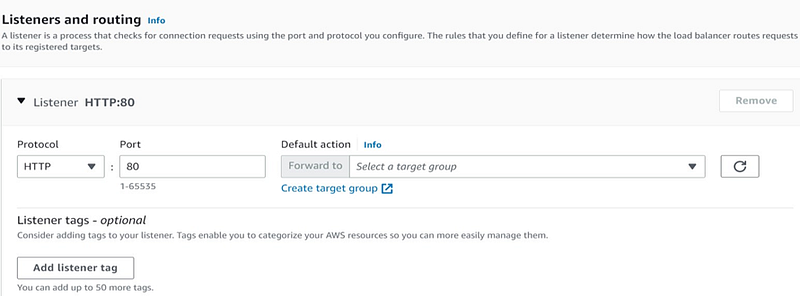
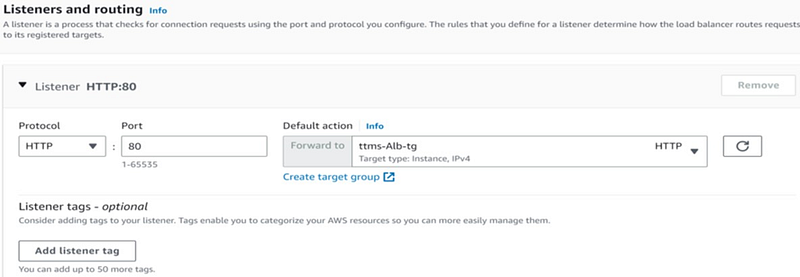
Click on Create a Target Group with HTTP protocol and port 80.
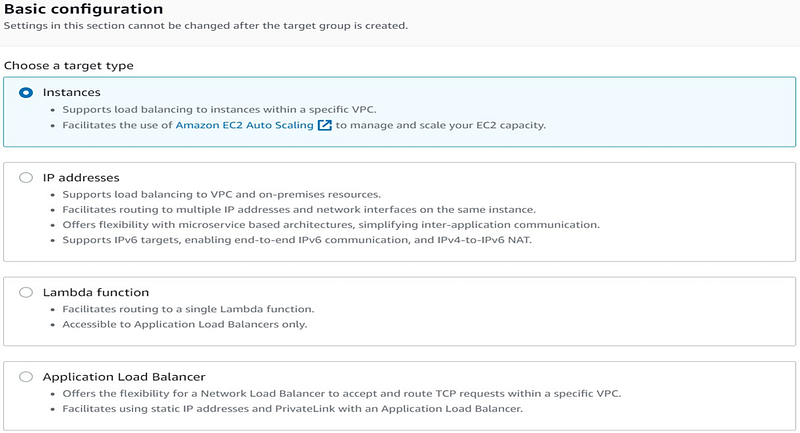
Set the target type to "Instances".
Create a Target Group named "ttms-Alb-tg" with protocol version HTTP1.

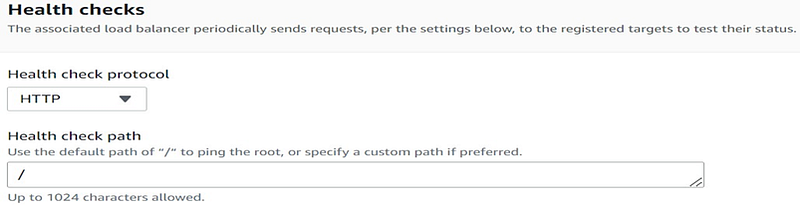
Specify the Health Check protocol as HTTP with a designated health check path.
You will receive a confirmation message indicating that the Target Group has been successfully created.

Select the created Target Group as the default action.
Review the Load Balancer summary and click "Create Load Balancer".
You will receive a confirmation message indicating that the Load Balancer has been successfully created.

Create the Service with the Task Definition
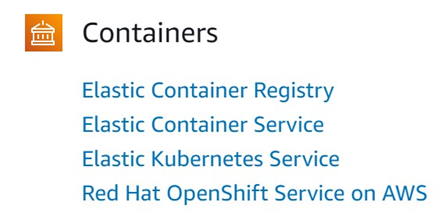
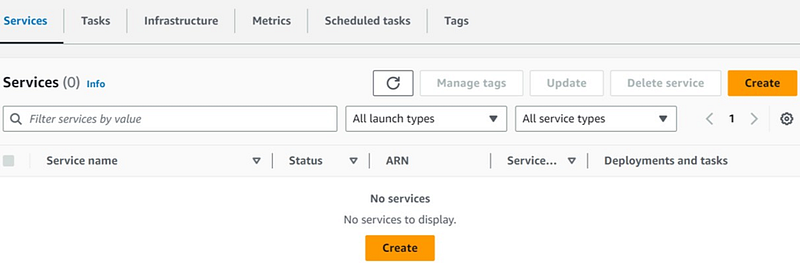
Access the AWS Management Console and choose "Elastic Container Service".
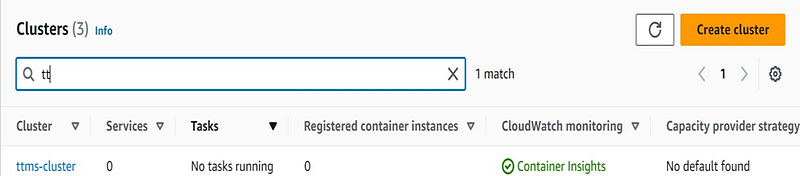
In the list of clusters, select "ttms-cluster".
To create a new service, click on the "Create" option
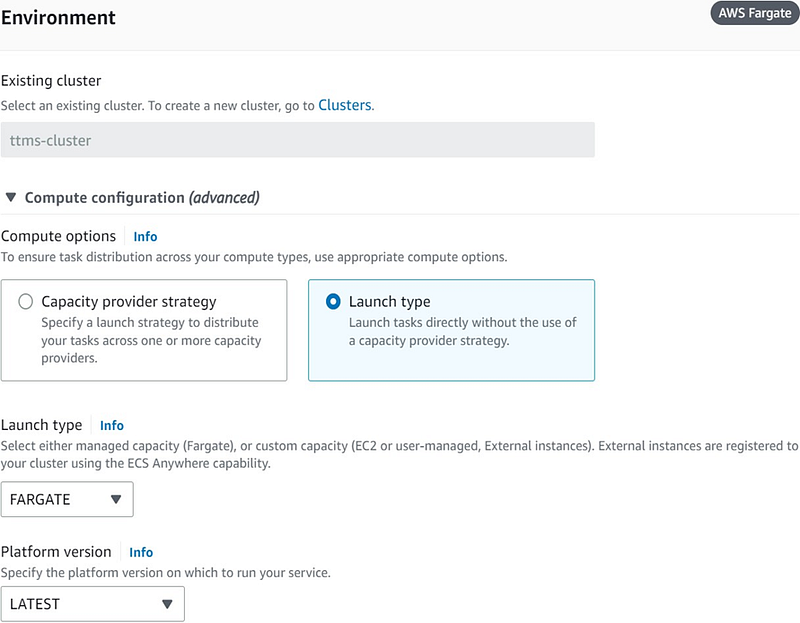
The default existing cluster is selected, along with the compute configuration and Launch Type.
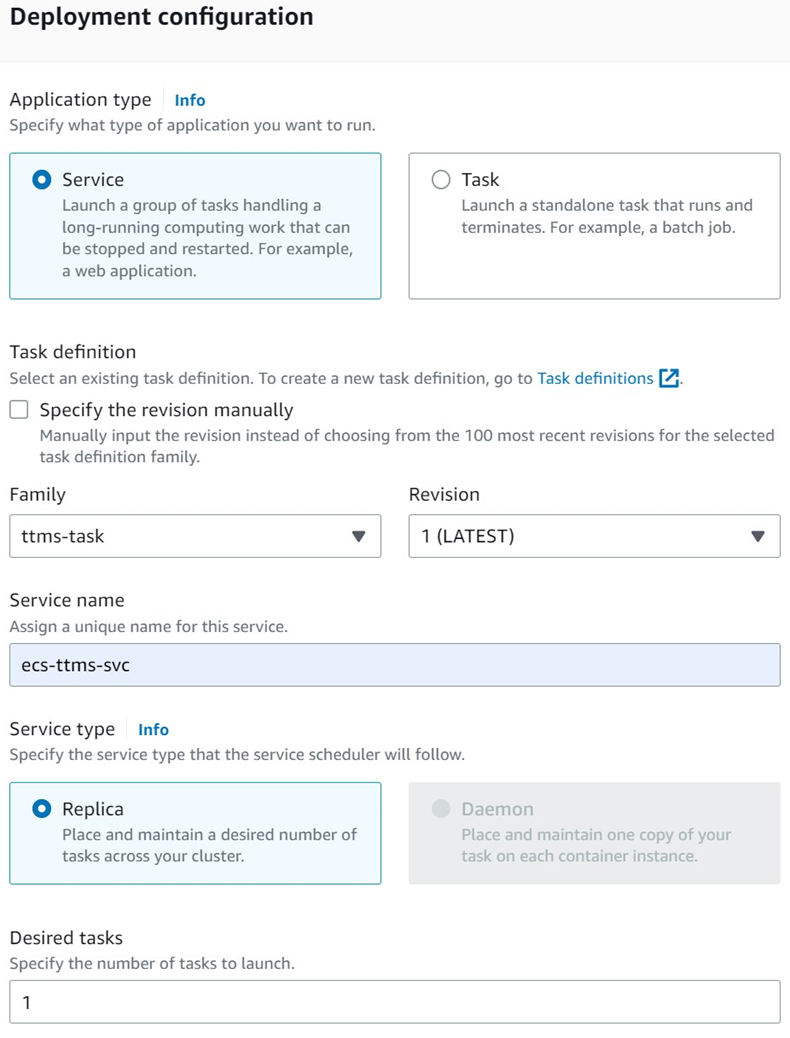
In Deployment Configuration, select "Service" as the Application type. Specify the service name, family, and revision, and set the service type to "Replica".
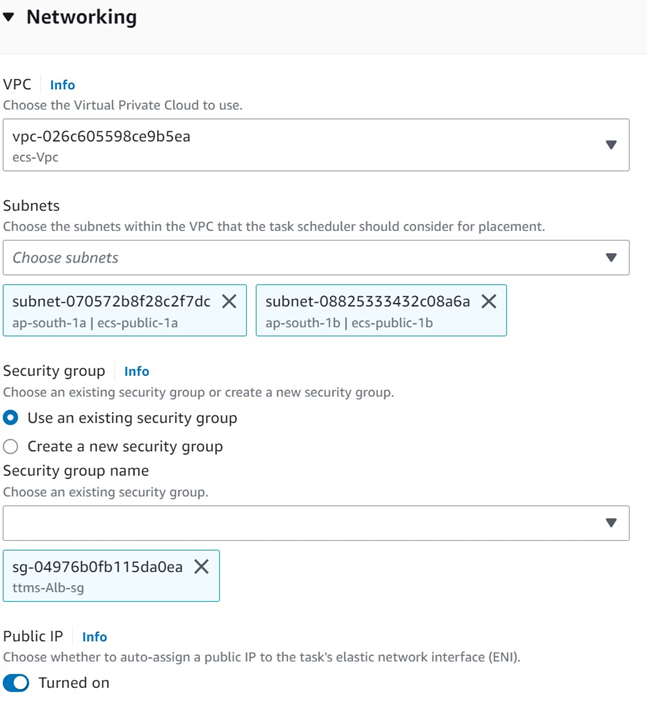
In Networking, choose the VPC, subnets, and security group. Enable the public IP if needed.
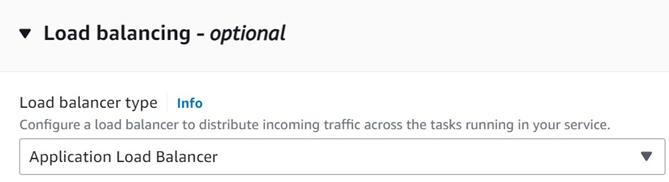
In the Load Balancing section, select "Application Load Balancer" as the load balancer type.
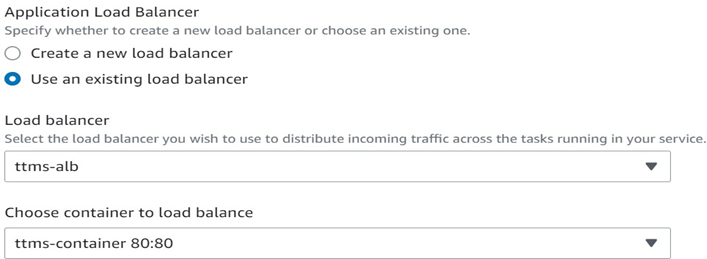
In the Application Load Balancer settings, choose "Use an existing balancer" and select the created load balancer, specifying the container port.
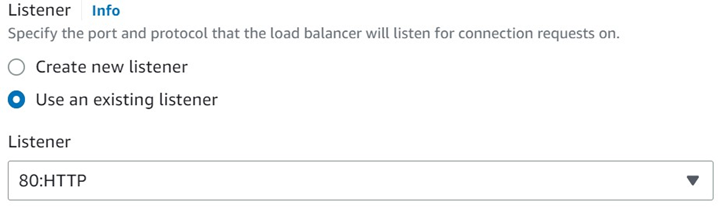
In the Listener section, select the existing listener with "80: HTTP".
In the Target Group section, create a Target Group named "ttms-app-tg" with HTTP protocol. Define the specific path pattern and evaluation order. Specify the health check path and grace period.

Check the list of successfully created services. The service should be running with one desired task.

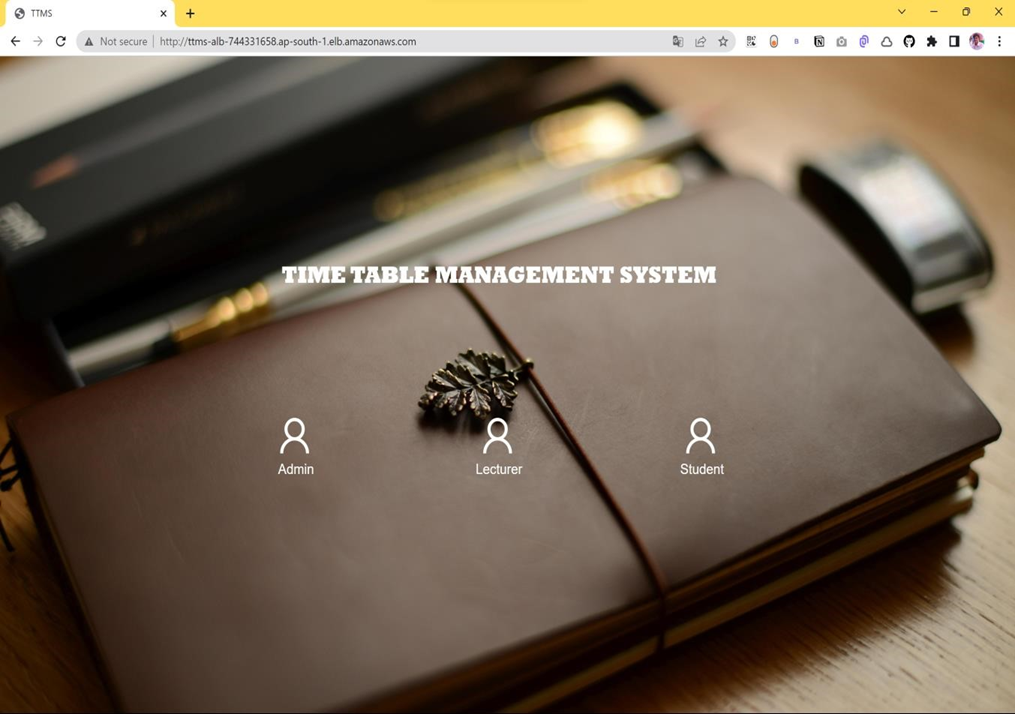
Copy the DNS name of the application load balancer and paste it into your web browser.
You should now have successfully accessed the application container through the application load balancer's DNS name.
Thanks for reading! I hope you found this helpful and informative.
I'm always happy to connect with fellow tech enthusiasts and answer any questions you may have. Don't forget to follow me for more updates on tech, programming, and more.😄😄
Follow me on LinkedIn to see interesting posts like this : ) Linkedin


